Part 3: Master Workshop – Smart Select, Erase, and Surgical Precision!
Hey! In the previous part, we learned how to send our hero out into the world. But what do you do when the image is almost perfect, but Midjourney let its "imagination" run wild and drew a sixth finger? Or when the background is great, but you want to swap one object for another?
That’s where the Editor function (the brush icon) comes in. This isn’t just basic painting—it’s a powerful tool that ensures you don’t have to regenerate everything from scratch just because of one small mistake.
1. Smart Select – The Pro Move for Efficiency
Instead of painstakingly painting over parts of the image and trying not to "go outside the lines," use Smart Select.
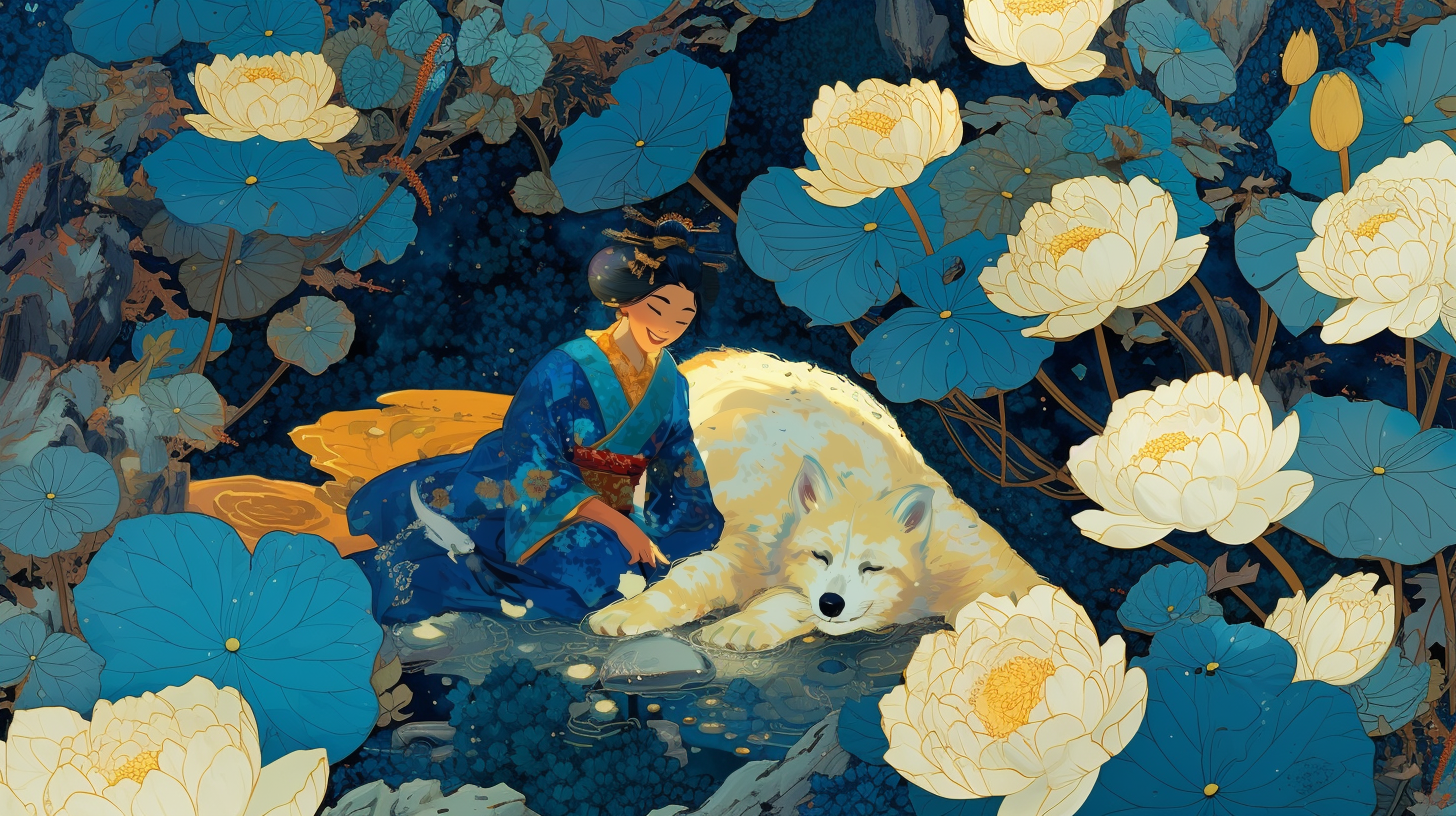
How does it work? Click the Smart Select button, then simply point at an object in the photo (e.g., the bowl of popcorn in the geisha's hands).
The Effect: The AI intelligently detects the edges and selects the entire object for you. It’s perfect when you want to swap something out quickly without ruining the rest of the frame.
Most people think Smart Select is only for small details, but listen to this—you can use it to cut out the entire background with just one click!
How to do it? In Editor mode, click Smart Select and highlight the space around your hero.
Prompt Magic: Once the background is selected, type a brand-new location in the edit box.
Example:
snowy mountains during sunsetorfuturistic neon city street.Why is this better? Because your character remains untouched—their pose, expression, and every detail stay identical, while only the scenery behind them changes. It’s like moving an actor to a different movie set in a split second!
Dlaczego warto z tego korzystać?
Oszczędność czasu: Nie tracisz minut na generowanie 20 nowych wersji, żeby "może tym razem" wyszło dobrze.
Precyzja: Masz pełną kontrolę nad każdym guzikiem, kwiatkiem czy detalem tła.
Kreatywność: Możesz testować różne wersje tego samego zdjęcia – raz Twoja bohaterka trzyma książkę, a raz truskawkę.

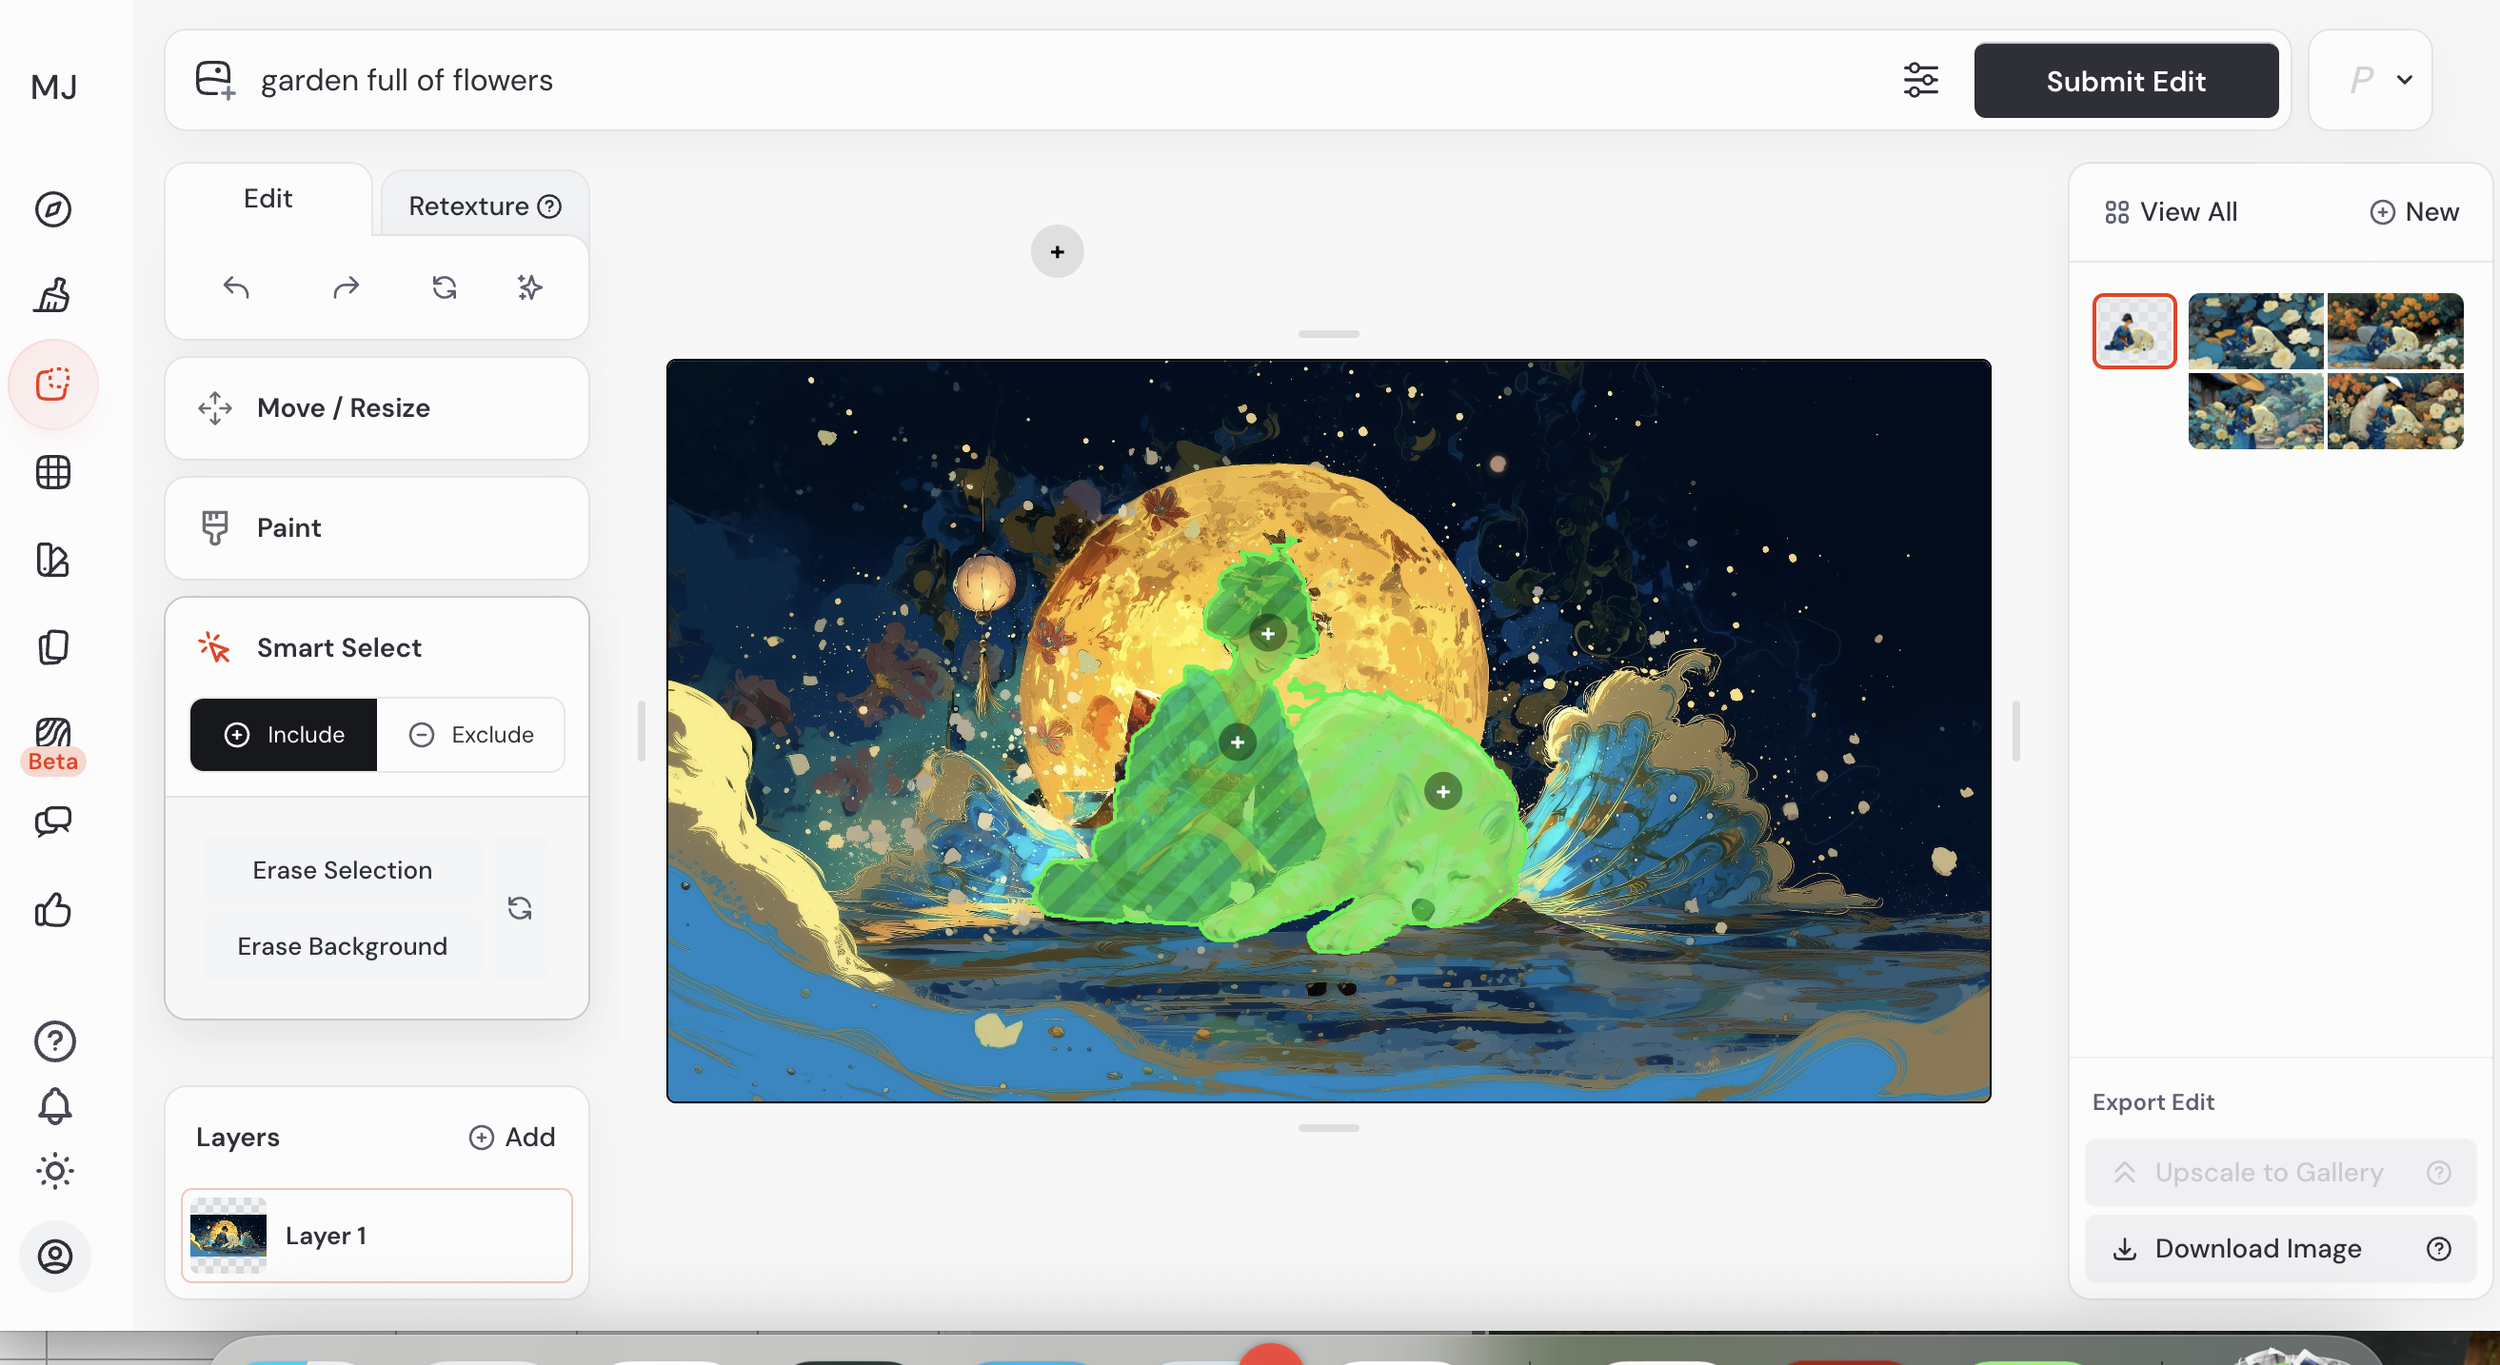
2. Erase – The Magic Mistake Eraser
Sometimes AI "overdoes it"—it might add a weird button, a third earring, or a random smudge. That’s what Erase is for.
How does it work? Select the eraser and simply "wipe away" what you don’t want.
The Trick: Leave the prompt box empty and click "Submit." Midjourney will look at the surrounding area and intelligently "patch" the hole to match the background. The mistake disappears like it was never there!
3. Swapping Objects on the Fly
Imagine your character has a small bird on her shoulder that turned out a bit wonky. Want to swap it for a beautiful butterfly? Easy:
Use Smart Select to select the bird with one click.
In the edit box, type:
small colorful butterfly.Click Submit and you’re done—Midjourney swaps only that one element, leaving everything else intact.
Why should you use this?
Save Time: Don’t waste minutes generating 20 new versions hoping for a "maybe."
Precision: You have full control over every button, flower, or background detail.
Creativity: Test different versions of the same photo—one minute she’s holding a book, the next a strawberry.
📘 Midjourney Cheat Sheet – Your "Magic Words" Guide 🪄
Save these points to your notes or take a screenshot so you always have your "spells" ready!
🌅 1. Lighting (Setting the Mood)
Cinematic lighting – Professional, movie-like lighting that adds depth.
Golden hour – The warm, golden glow of the sunset; perfect for making your character look magical.
Volumetric lighting – Visible beams of light breaking through windows, fog, or trees.
Neon / Cyberpunk lighting – Strong, saturated lights in purple and blue tones.
🎨 2. Style & Vibe (What should it look like?)
Painterly art style – Gives the image an artistic, painterly look with visible brushstrokes.
Photorealistic – Use this if you want your character to look like a real person in a photo.
Studio Ghibli style – Gives graphics a charming, fairy-tale vibe like Japanese animations.
Vibrant colors – Boosts color saturation, making the image juicy and vivid.
📸 3. Camera & Framing
Bokeh / Shallow depth of field – Blurs the background and sharpens the character; the standard for portraits.
Wide angle – A wide shot that shows more of the environment around the hero.
Extreme close-up – A very tight shot on the face or a specific detail.
⚙️ 4. Technical Parameters (Add to the end of your prompt)
--ar 16:9 – Cinematic widescreen format, ideal for blog headers.
--ar 9:16 – Vertical format, made for Reels, TikToks, and Stories.
--cw 0 – The parameter that tells the AI to take only the face from your reference, letting you change clothes and poses freely.
--cw 100 – Copies your character 100% (face, hair, and clothing).
Now nothing stands in your way of making your graphics perfect in every detail! Let me know in the comments what you managed to fix or swap! ✨🎨